Heat waves are getting longer and tougher. Nothing drains your budget or patience faster than an AC that wheezes on the hottest day. Summer AC maintenance offers a simple, proactive path to steady cooling, fewer surprises, and lower electric bills. In the pages ahead, you will pick up under-an-hour tasks, bill-cutting settings that do not steal comfort, and a checklist of what a pro tune-up must cover—so the system runs strong all season. Want fewer outages, smoother performance, cooler rooms? Keep reading.
Why Summer AC Maintenance Matters: The Cost of Ignoring Your System
When temperatures rise, your air conditioner becomes the hardest-working appliance in your home. Skip summer AC maintenance and small issues—dust-choked filters, bent condenser fins, tiny refrigerant leaks—pile up until the unit runs longer, cools less, and risks failing right when you need it most. That is not just uncomfortable; it is expensive. According to the U.S. Department of Energy, replacing a dirty, clogged filter can improve efficiency by 5%–15%, a difference you will see on your utility bill. Globally, space cooling already accounts for nearly 10% of electricity use, and demand is growing, which means preventive maintenance helps your home and supports a steadier power grid during extreme heat.
The reality: most mid-season breakdowns are preventable. Clear debris from the outdoor unit and flush the condensate drain to reduce strain on motors, prevent coil icing, and preserve a healthy temperature split between return and supply air. What is interesting too: that split—often 14°F to 22°F (8°C to 12°C), depending on humidity—reveals whether heat is being moved effectively. If the split shrinks, the AC works harder, burns more power, and wears out components faster.
Comfort and air quality benefit as well. A clean system filters better, circulates air more evenly, and controls humidity more effectively. Poor airflow can leave rooms feeling muggy even when the thermostat reads low. On top of that, neglected condensate drains can grow biofilms that create musty odors. In short, maintenance keeps the cool air cool, the bills predictable, and the indoor environment healthier.
Wondering whether it is worth the time? Then this: peak-season service calls can take days to schedule, costs jump with emergency demand, and parts may be delayed. A pre-summer checklist done now is a low-cost way to buy comfort, reliability, and peace of mind for the months ahead.
Step-by-Step Home AC Checkup You Can Do in 30–45 Minutes
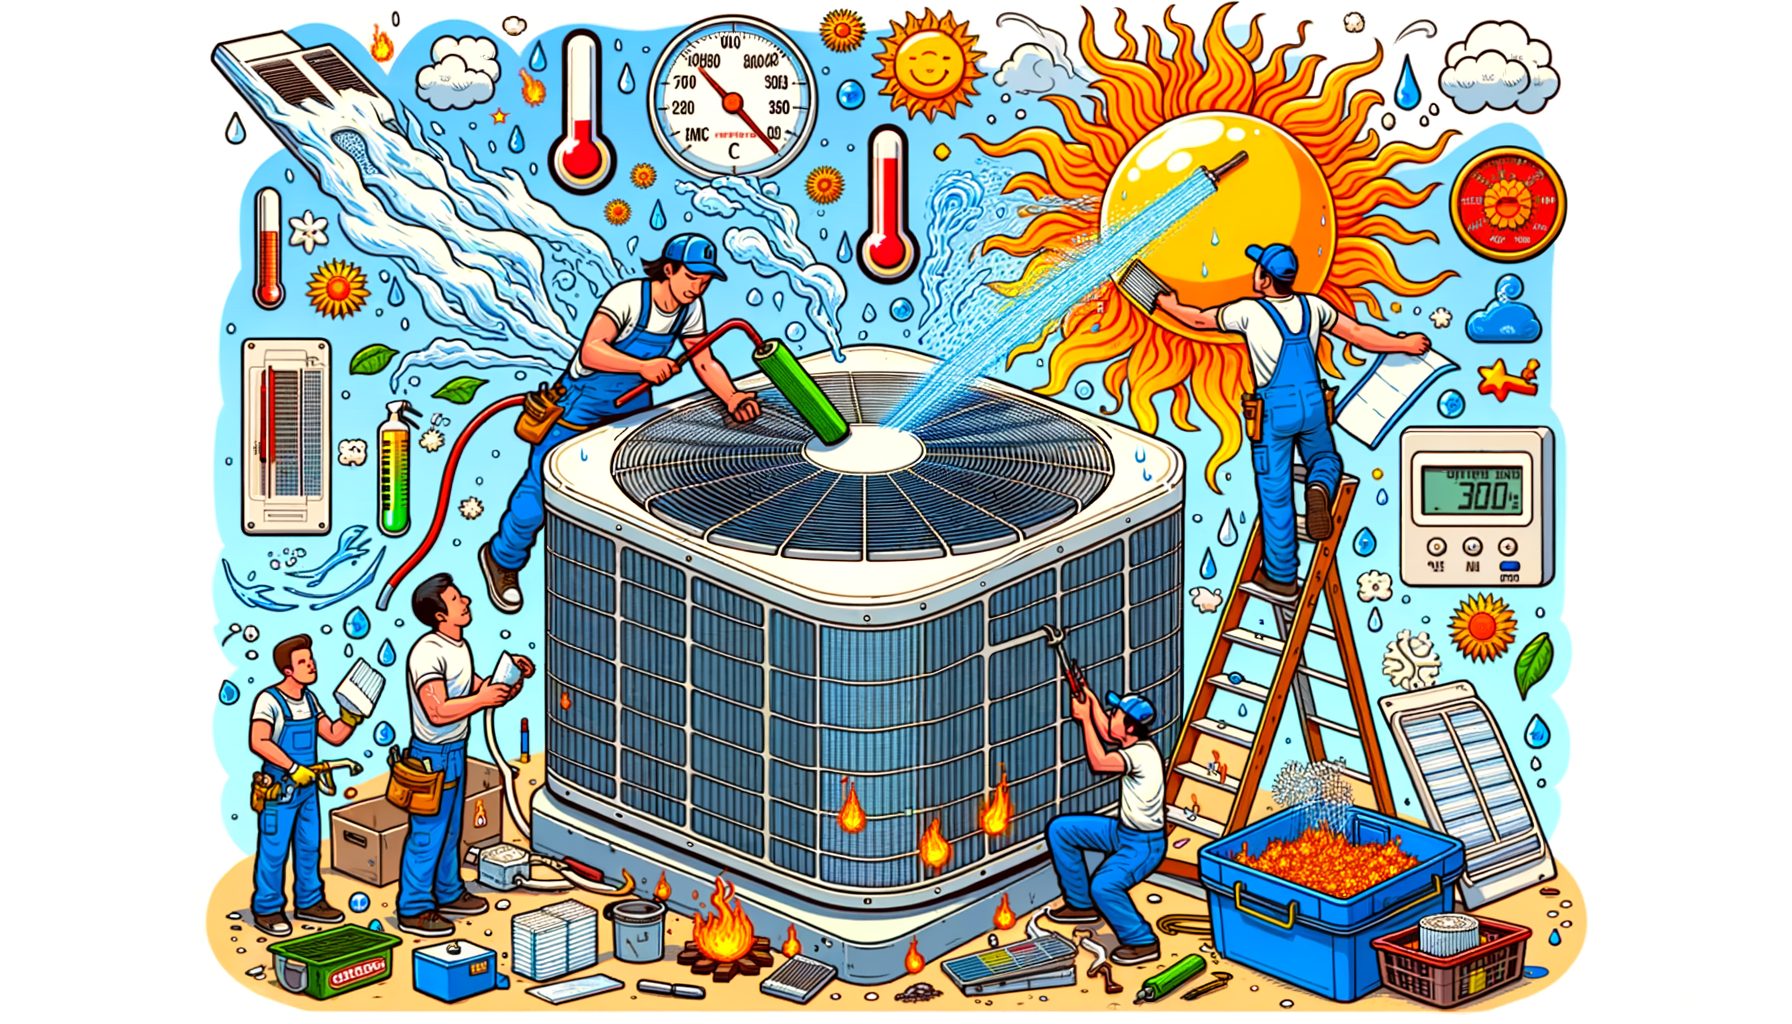
You do not need to be a technician to give your air conditioner a practical mid-season check. Set aside 30 to 45 minutes and follow the steps below. You will improve performance, catch small problems early, and get a clear picture of your system’s condition before heat peaks.
- Power and safety first: Turn off power at the thermostat and the outdoor disconnect. Safety comes first—always.
- Filter: Slide out the return-air filter and hold it up to light. If light does not pass through clearly, replace it. In heavy summer use, many homes need a new filter every 30–60 days. A MERV 8–11 filter balances filtration and airflow for most systems; check your manual.
- Outdoor unit (condenser): Clear vegetation within 60–90 cm (2–3 ft) around the unit. Gently hose off coil fins from the inside out to remove dust and pollen. Avoid high pressure—fins bend easily. Bent fins visible? A fin comb can help straighten them.
- Refrigerant line insulation: Inspect the thick copper suction line’s insulation. If cracked or missing, replace the foam sleeve to cut energy loss.
- Indoor coil and drain: If accessible, check the condensate drain line. Pour a cup of warm water, then a cup of white vinegar to dissolve algae and reduce odors. If water backs up, use a wet/dry vacuum at the outside drain termination to clear the clog.
- Vents and returns: Open supply registers fully and vacuum dust from grilles. Avoid blocking returns with furniture. Closing too many vents raises static pressure and can cause coil icing and noisy ducts.
- Duct leaks (quick check): With the fan running, feel along exposed ducts in attics or closets for leaks. Seal small gaps with mastic or UL-181 foil tape (not cloth “duct tape”).
- Thermostat and sensors: Compare the thermostat reading with a reliable room thermometer placed nearby. A difference greater than 1–2°F may signal calibration issues or poor placement (for example, direct sunlight).
- System test: After restoring power, set the thermostat to cool. Let the system run 10–15 minutes. Measure temperature at a return grille and a nearby supply register. A healthy split is commonly 14°F–22°F (8°C–12°C), depending on humidity and design. Low split plus poor airflow points to a dirty filter or coil; low split with good airflow can indicate low refrigerant—call a professional.
- Document: Jot down filter size and replacement date, thermostat setpoints, and the temperature split. A quick note on your phone becomes a maintenance log that helps you spot trends and talk clearly with a technician.
Important cautions: Do not open sealed electrical panels or handle refrigerant beyond replacing insulation. See ice on the indoor coil or lines? Shut the system off, run the fan only to thaw, and call a pro—ice usually means airflow or refrigerant issues. A quick check today can add years to your system’s life and keep your summer cool and predictable.
Smart Settings, Airflow, and Home Tweaks That Cut Cooling Costs
Once your AC is clean and breathing freely, the next step is optimization. Smart thermostat strategies, airflow basics, and simple home improvements can cut cooling costs without sacrificing comfort—especially during afternoon peaks.
Start with thermostat settings. For most households, 26°C (78°F) is a practical cooling target when you are home. When away or sleeping, use schedules or geofencing to set the temperature 3–5°C (7–10°F) higher; the U.S. Department of Energy estimates you can save about 10% a year by making that change for at least 8 hours daily. Avoid rapid manual swings and let programs do the work. If humidity is your main discomfort, try “dehumidify” or “dry” modes where available, or use a separate dehumidifier to stay comfortable at slightly higher temperatures.
Airflow acts as a cooling multiplier. Set ceiling fans to spin counterclockwise in summer to create a wind-chill effect that makes you feel about 2–4°F cooler. That lets you nudge the thermostat up a degree or two and still feel good. Remember to turn fans off when you leave the room—fans cool people, not spaces. Keep interior doors open where possible to avoid starving return air; balanced flow reduces hot spots and short cycling.
Next, reduce heat gain. Window strategies pay dividends: draw blinds or close curtains on sun-exposed sides, install reflective films where appropriate, and consider exterior shading. According to Energy Saver, awnings can cut solar heat gain by up to 65% on south-facing windows and up to 77% on west-facing ones. Seal air leaks around doors and windows with weatherstripping and caulk. If you have accessible ducts in attics or garages, sealing and insulating them can boost comfort and reduce waste—ENERGY STAR notes that typical homes lose about 20% of conditioned air through duct leaks.
Want a quick snapshot of potential impact? Well, here it is. Your actual savings vary with climate, home design, and system condition, but the direction is reliable: small steps, big cumulative effect.
| Action | Typical Impact | Reference |
|---|---|---|
| Replace dirty filter | 5%–15% efficiency improvement | Energy Saver |
| Thermostat setbacks (7–10°F for 8+ hrs) | Up to ~10% annual cooling savings | Energy Saver |
| Seal and insulate ducts | Reduce losses from ~20% typical leakage | ENERGY STAR |
| Exterior shading/awnings | Cut window heat gain up to 65%–77% | Energy Saver |
Combine these tactics with mindful habits—cook earlier or use smaller appliances during peak heat, run bathroom and kitchen exhaust fans to dump moisture, and avoid closing more than 10%–20% of vents. Together, they keep your AC steady, your rooms even, and your bills lighter.
When to Call a Pro: What a Quality Tune-Up Includes and What It Costs
DIY maintenance handles dust, drainage, and airflow. A professional tune-up goes deeper by verifying electrical safety, measuring refrigerant charge, and testing performance under load. If your AC is more than a year old, has a history of hot-room complaints, or shows a weak temperature split, schedule a pre-summer visit. The ideal time is spring or early summer before extreme heat drives demand.
A reputable technician should follow a recognized maintenance standard, such as ACCA’s Quality Maintenance guidelines. Expect the following at minimum:
- Electrical and safety checks: Inspect contactor, capacitor, and wiring, then tighten connections. Startup amps should be tested and compared to nameplate ratings.
- Refrigerant performance: Superheat and subcooling are measured to verify charge. If charge is off, leaks must be found and fixed before refrigerant is added.
- Airflow verification: Static pressure, blower speed, and filter fit are checked. A dust-loaded blower wheel should be cleaned.
- Coil care: Both indoor evaporator and outdoor condenser coils are cleaned for optimal heat transfer.
- Condensate management: The drain line is cleared and safety float switches are tested to prevent water damage.
- Thermostat and controls: Calibration, staging (if multi-stage), and sensor placement are confirmed.
- Duct and leakage clues: Visual inspection for obvious leaks, disconnected runs, or crushed flex.
How much should you expect to pay? In many regions, a non-emergency, pre-season tune-up ranges from about US$90 to US$200, with prices higher for large homes, hard-to-access equipment, or coil cleaning that requires extra labor. Emergency calls during heat waves can cost significantly more. If a technician quotes a suspiciously low price, make sure the scope includes real testing (superheat/subcool, static pressure) and not just a quick rinse and go. Transparent reporting—before/after measurements, photos of cleaned components, and a written checklist—signals quality.
Two red flags: adding refrigerant without a leak check, and recommending oversized replacements for minor comfort issues. Oversizing can cause short cycling and humidity problems. If replacement is suggested, ask for a load calculation (Manual J) and discuss duct improvements as part of the plan. A good pro will welcome informed questions; the goal is reliability, efficiency, and comfort—not just a new box.
Quick Q&A: Common Summer AC Questions
How often should I change my AC filter in summer?
Check monthly and replace every 30–60 days during heavy use. Homes with pets, smoke, construction dust, or allergies may need more frequent changes. Write the date on the frame so you do not forget.
What thermostat setting saves the most without feeling hot?
Try 26°C (78°F) when home, and 3–5°C (7–10°F) higher when away for 8+ hours. Pair with ceiling fans to feel 2–4°F cooler and keep comfort steady.
Can I hose down my outdoor unit?
Yes—turn off power first and use a gentle stream from inside out to rinse dust and pollen. Avoid high pressure that bends fins. Keep 60–90 cm (2–3 ft) clear around the unit.
Do I really need a professional tune-up every year?
Annual service is recommended for most systems, especially in hot or humid climates. It verifies electrical safety, airflow, and refrigerant performance—things you cannot accurately test at home.
Conclusion: Your Summer-Ready System Starts Today
You just reviewed the essentials of summer AC maintenance: why it matters, what you can do in under an hour, how to optimize thermostat and airflow for lower bills, and what a professional tune-up should include. The main idea stays simple: small, consistent actions—clean filter, clear coil, open vents, smart settings—compound into big results. Equipment lasts longer, comfort improves, and energy costs stabilize when temperatures soar.
Here is your action plan for the next 24–48 hours. First, swap in a fresh filter and note the date. Second, clear and rinse the outdoor condenser, check the drain, and verify a healthy temperature split after a 15-minute run. Third, update your thermostat schedule for summer: 26°C (78°F) when home, higher when away, with ceiling fans to stretch comfort. Finally, book a professional tune-up if your system has not been serviced in the last 12 months or if you notice low airflow, hot rooms, or rising bills.
Acting now beats sweating it out later. You will feel the difference on the next hot afternoon—steadier cooling, quieter operation, and the calm that comes from knowing your system is ready. Share this guide with a friend or neighbor, add a calendar reminder for your next filter change, and keep a simple maintenance log on your phone. Each step takes minutes, and together they add up to a cooler, safer summer.
Comfort is not luck; it is preparation. Start today, stay consistent, and enjoy the season on your terms. What is the first step you will take to get your AC summer-ready?
Helpful Links and References